
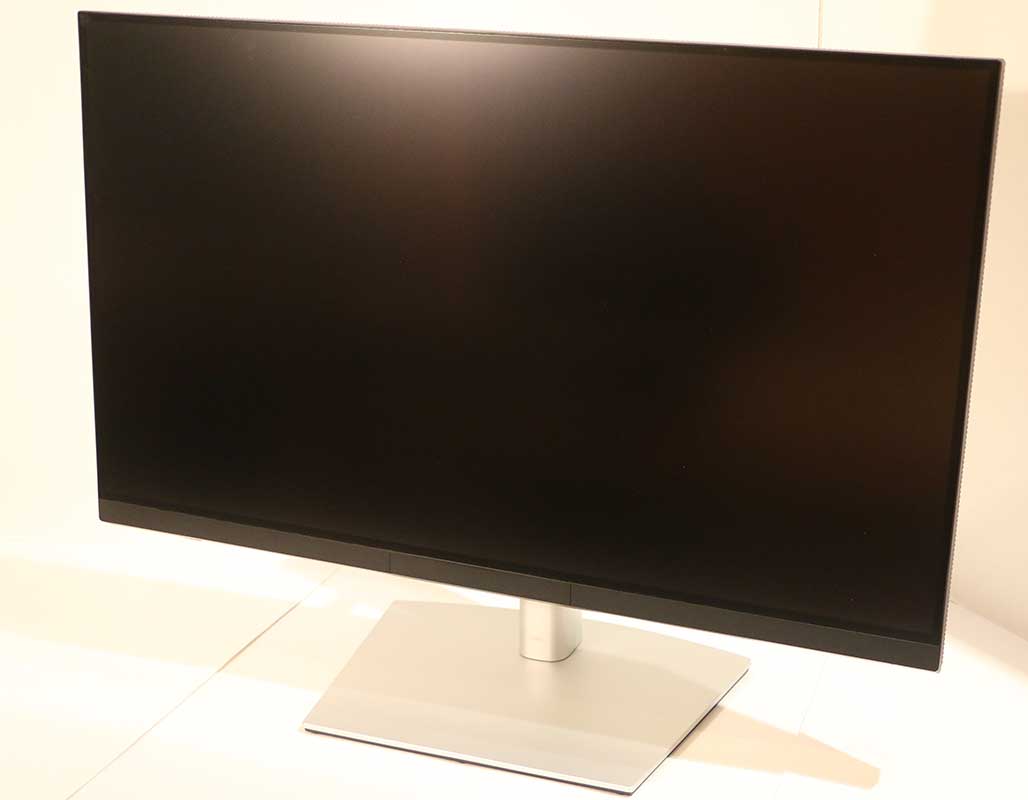
Dell sent me their newest top-end HDR monitor to test out. The UP3221Q is an HDR1000 certified 31.5 inch UHD display, with 1000 nits of Brightness, displaying images from HDMI, DisplayPort, or Thunderbolt inputs. It can display both HLG and HDR10 PQ content, and has a built in colorimeter for precise calibration. The backlight is composed of over 2000 independently controllable mini-LEDs (or dimming zones) to control the brightness in different areas of the screen, allowing higher overall contrast. This feature is what sets this five thousand dollar monitor apart from other lower budget HDR displays. Its true 10bit IPS panel claims to cover 99.8% of the DCI-P3 spectrum, and 83% of the BT.2020 spectrum.
Testing It Out
I connected the DP input to my NVidia GPU output, and the HDMI input to my Kona5 card. GPU outputs of your operating system UI will always be HDR10 PQ, while I usually have my Kona5 set to HLG output. I find that tends to work best from Premiere, especially with 60p content. This is my first DisplayPort HDR device, with all previous HDR monitors and TVs running on HDMI, usually over DisplayPort Adapters from my Quadro cards, which have given me issues in the past.
Plugging in the DisplayPort cable, and turning on HDR in the display settings worked immediately, instead of having to fiddle with the refresh rate and color format in the NVidia Control Panel, like I usually have to for HDMI devices to work in HDR. The Kona output was already set to HLG, because I had the SDI output running to another display for comparison. That allowed me to switch between inputs on the Dell, to see my HLG video output, or my HDR10 extended desktop. The Dell monitor remembers that the DP is HDR10 and the HDMI is HLG as I switch between the inputs, which I really appreciate. The next step would be to get monitors to automatically identify which of those signals is coming in, which I initially thought this unit did, but now it appears that it just correctly guessed my HDR10 PQ because that is the default. It does automatically switch between SDR and HDR modes when the incoming signal changes.
 ThunderBolt
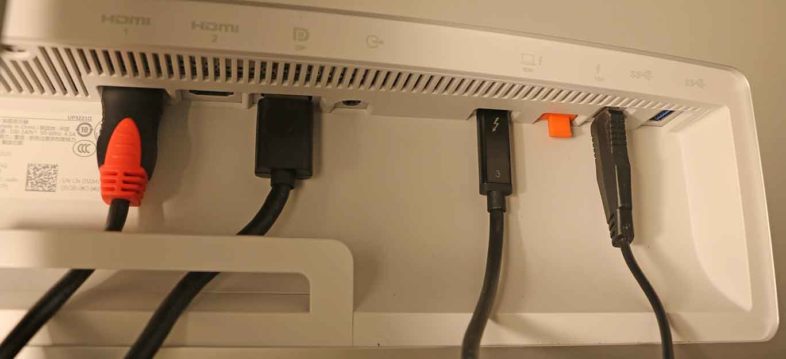
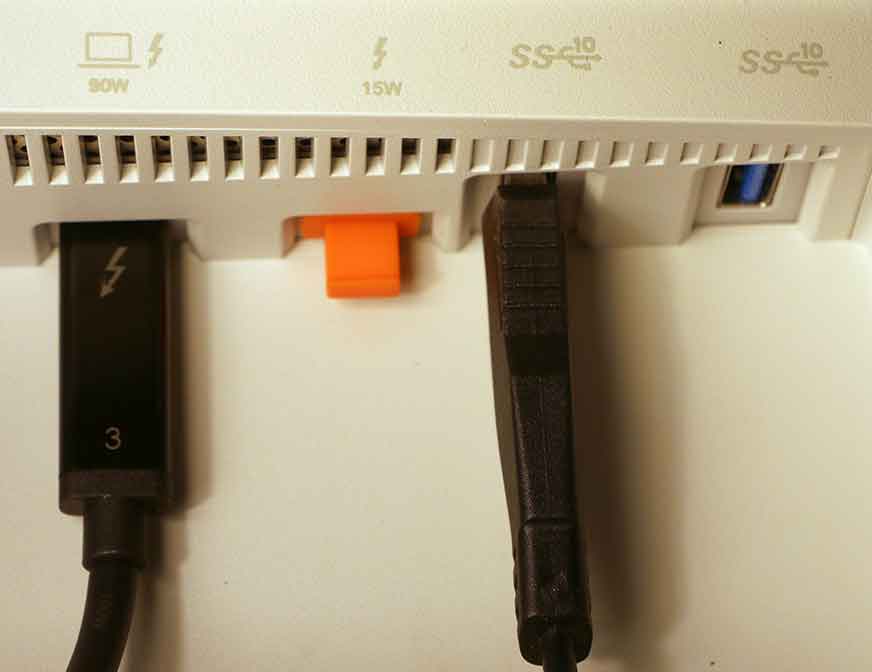
Besides the DisplayPort and dual HDMI 2.0 inputs, it also has a ThunderBolt3 compatible USB-C port. This can drive the monitor from a DisplayPort enabled USB port, or from any Thunderbolt3 port, and provides up to 90W of power for the host system. This also enables the two integrated USB ports, and in the case of Thunderbolt, a downstream pass through port, for adding more Thunderbolt3 (TB3) devices to the bus chain, with up to 15W of power to run them. The unit does not have integrated speakers, but it does have an analog audio output, for sound coming from the HDMI or DP sources.
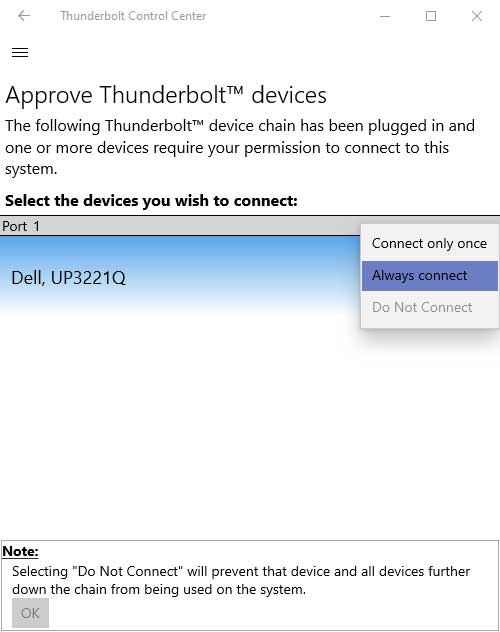 The monitor includes a USB-A to USB-C cable, and a Thunderbolt3 Cable, which it says not to use in a non-Thunderbolt USB-C port. It also includes Power, DisplayPort, and HDMI cables. (No Mini-DP option like previous Dell monitors have had.) After testing DisplayPort and HDMI input with my desktop workstation, I connected the monitor to my Razer 15 laptop over Thunderbolt3. The display works immediately when connected via Thunderbolt, but the USB ports and downstream TB3 port do not, until you explicitly allow access to them by approving the connection in Intel’s Thunderbolt utility. The fact that the user is not prompted to do this upon connection, and has to know to look in the utility is an unbelievable ongoing issue, that I have experienced on other systems as well. This is not a problem caused by this particular Dell display, or Dell at all, but potential users should be made aware of it. I was able to use my 10GbE to TB3 adapter on the downstream port, and my USB peripherals worked as well, once enabled.
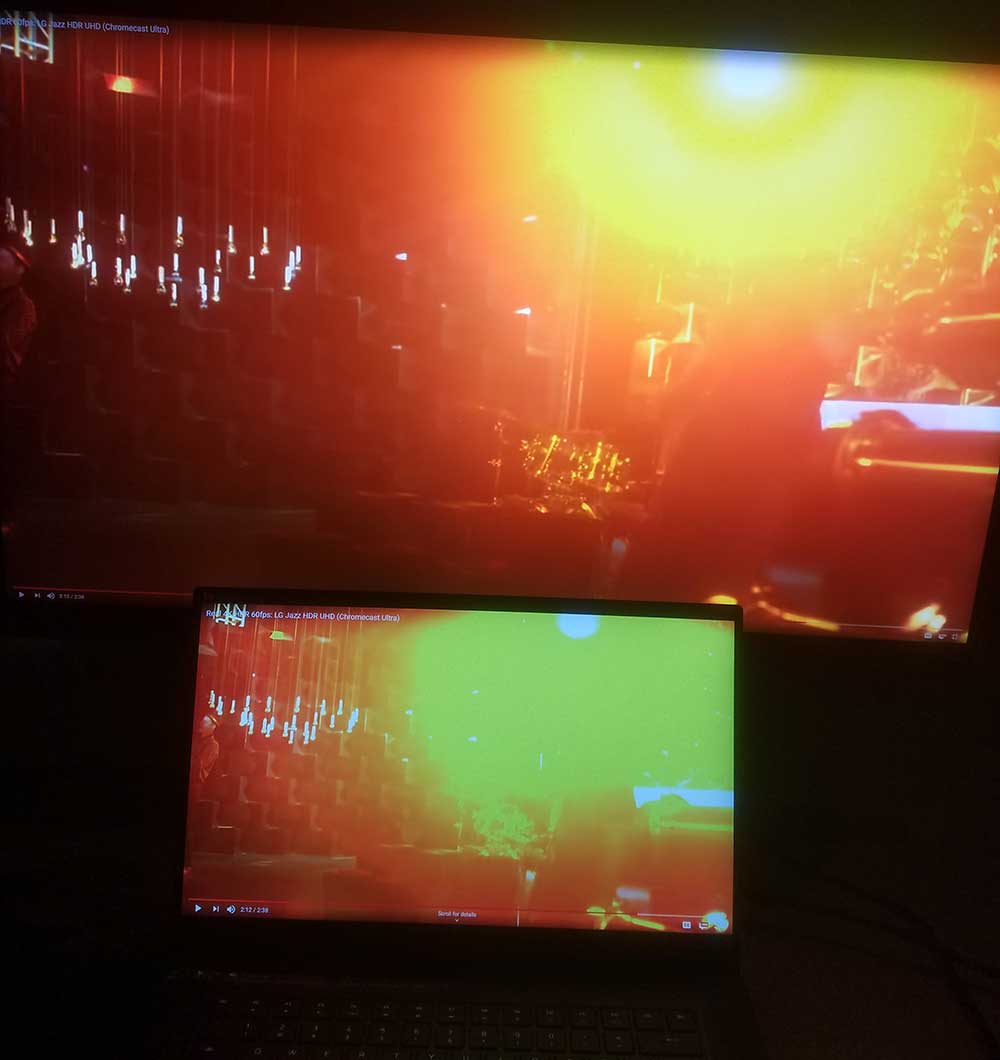 In order to enable HDR output, Windows wants users to connect the power adapter. While the display provides 90W of power over the TB3 cable, this isn’t enough for some larger power hungry laptops like mine. Once I was plugged into the wall, HDR worked great. The Razer’s 15″ HD screen is actually very bright, but it does not show nearly as much detail in the highlights as the Dell’s true HDR display. I displayed the same frame on both screens, and it was obvious that while the brightness levels were similar, the highlights were blown out much more on the SDR screen.
Next I tried my ZBook X2, with a slightly different experience. In this case the Thunderbolt connection did power my device, but I was not able to activate HDR output to it, presumably due to the older Quadro M620 GPU, and Intel 620 integrated graphics. But I was able to use the USB and TB3 ports once I approved the connection. I don’t recommend buying this monitor unless you have the proper hardware to drive it in HDR. In the case of video editors, that probably includes having a professional IO card, although eventually a good GPU should be all that is required.
 On Screen Controls
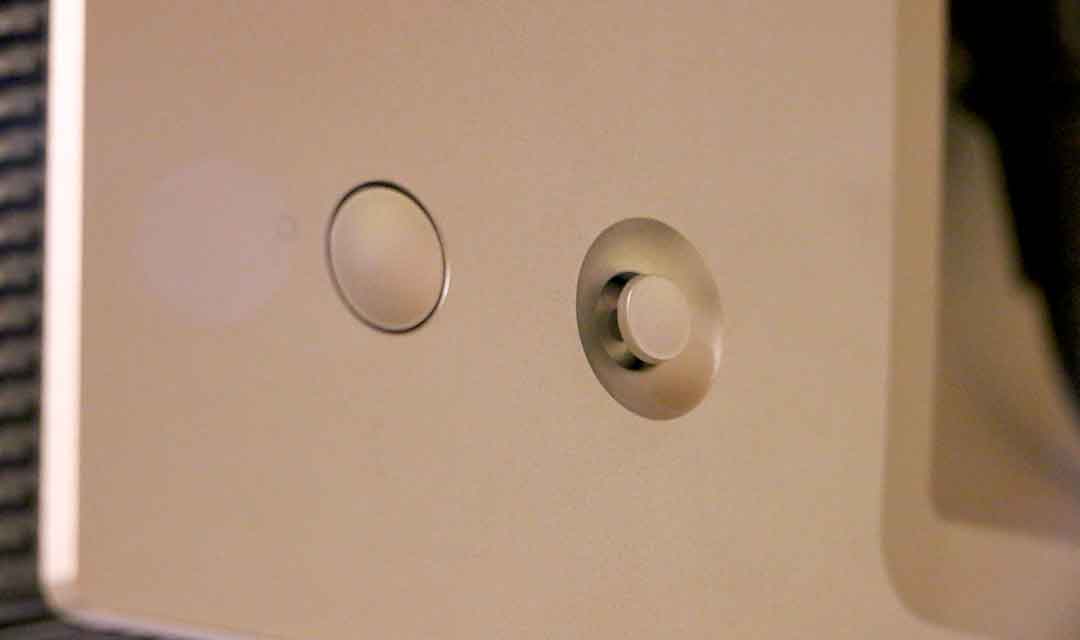
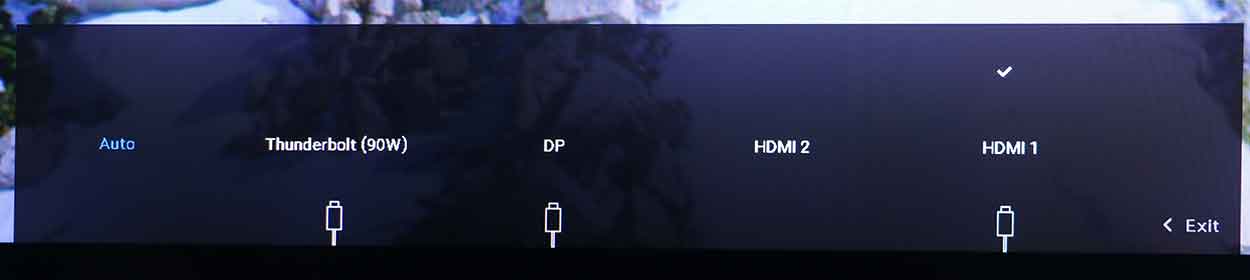
The monitor has a lot of options available to the user, and extensive menus. The settings are controlled by a joystick on the back of the display, which is easy and intuitive to use, but uncomfortably close to the power button. Pressing the joystick brings the users to an initial quick menu for changing the input, color-space, and calibration. Pushing the joystick up brings you to a more traditional two column menu to control the rest of the monitor’s settings. The one thing I didn’t like about the menu was when changing inputs, (which I did a lot) the UI always defaulted to the “Auto” option on the left, not the currently selected input, denoted by a checkbox. I would always reflexively push left to select the previous input, which actually closes the whole menu. Instead I need to push to the right from Auto until I get to the input I want.
 On a related note, leaving “Auto Select” enabled in the “Input Source” menu caused the display to switch away from HDMI every time my Kona card changed resolutions or framerates, and something similar would happen when rebooting, if you were sharing the monitor between a laptop and desktop. So I would disable “Auto Select” if you ever expect to have simultaneous inputs, and that will no longer be a problem.
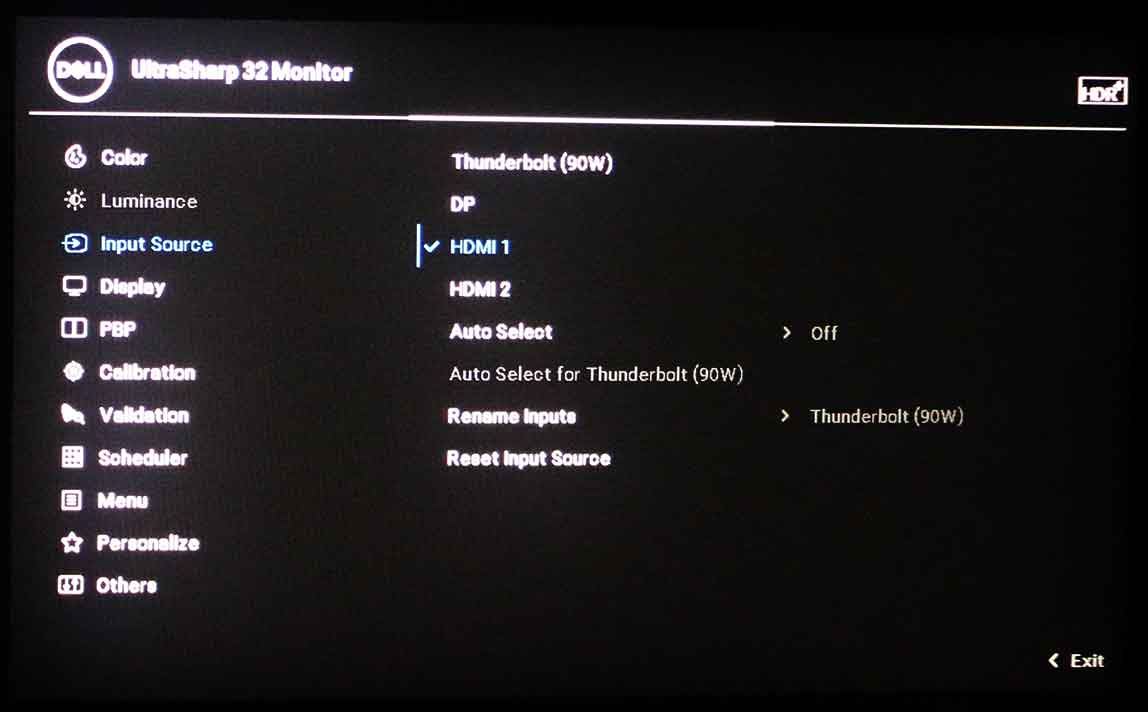
The monitor offers a number of other high end features for various use cases. First off in the Display menu, is the Aspect Ratio setting. Now this isn’t something I would normally mess with, but in this case it offers some interesting options. The monitor can accept 4096×2160 signals, even though it has a 3840×2160 panel. The Aspect Ratio menu gives 3 options for how this mismatch can be handled. Setting it to 16:9 will squeeze the image horizontally to fit the content on the screen. Setting it to 17:9 will scale it down and letter box it, maintaining the aspect ratio, while choosing Pixel-For-Pixel will crop off the extra pixels on the sides. All of those options have their uses, and Dell did a good job of including that level of support for Cinema 4K resolutions on their UHD resolution panel.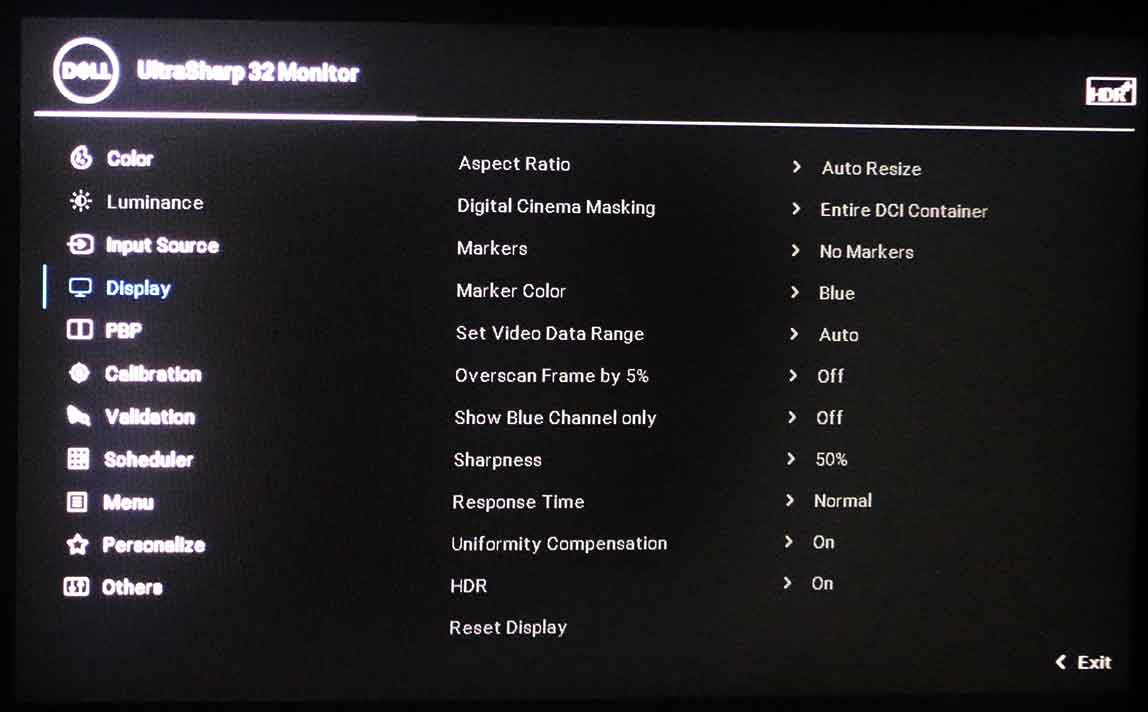
Cinema Masking offers the option to letterbox the image at 1.85, 2.35, or 2.39, with (my favorite) varying levels of opacity for that mask. I usually accomplish this in software by adding an image layer to my timeline, but this accomplishes the same result without further taxing my graphics card. It also can overlay markers for various aspect ratios, action and title safe boundaries, or others. (The crosshairs one might be applicable to HDR gamers) They can be set to red, green, blue, or gray. My only complaint here is that only one marker can be activated at a time. It would be great to check as many as you want, for example, both action and title safe can be simultaneously useful. There are also options to control over-scan, response time, sharpness, blue channel only, and other features. There is also a Picture-By-Picture (PBP) Mode, which allows you to view data from two different inputs. Activating this mode changes the default resolution in Windows to 1920×2160, but that can be overridden, and the monitor will scale whatever you send it to one side of the screen, to be compared to whatever is coming in from the other selected input. The two inputs can be displayed in different color-spaces, or a single input can be displayed twice in different color-spaces. But using this mode appears to totally disable HDR support, and the only use I would have for this feature would be viewing an image in both SDR and HDR simultaneously. I believe this function is really targeted at graphics artists looking at proofs in different color-spaces for print and web.
 Calibration
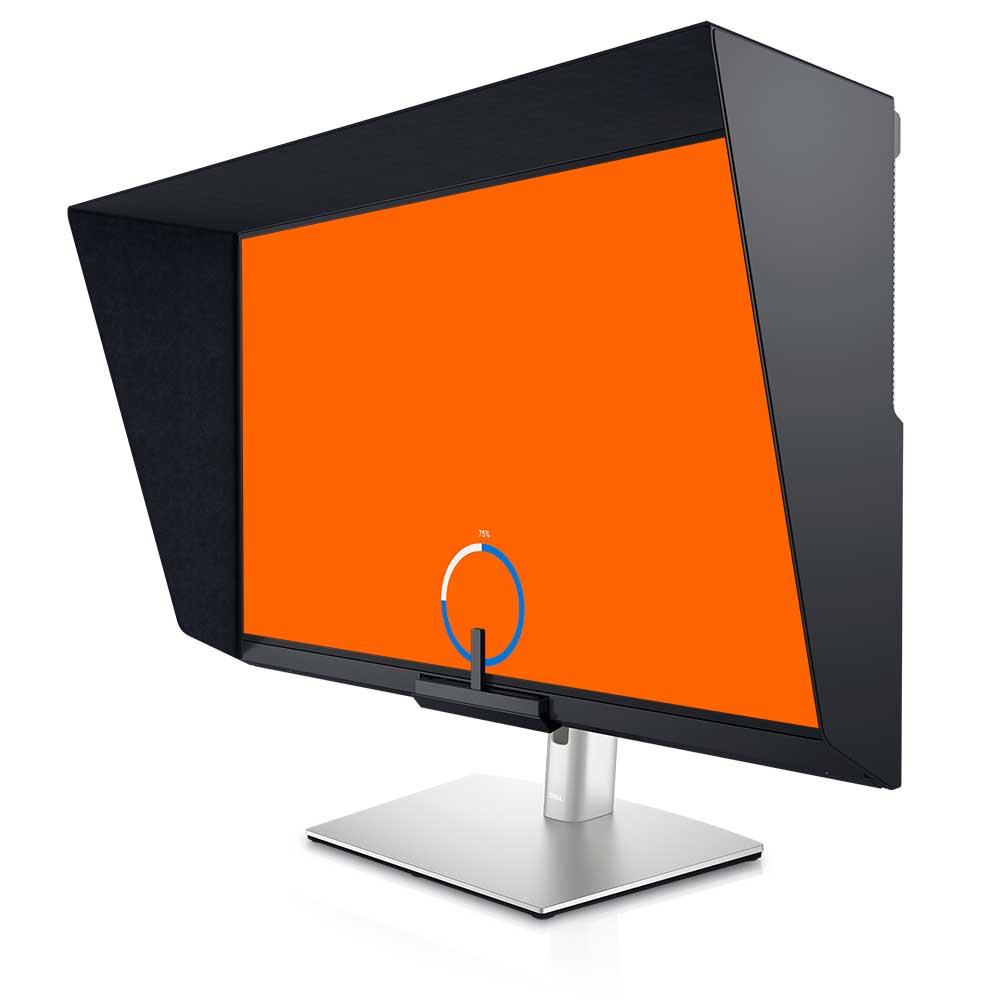
The calibration and validation functions are simple from a user perspective. They can be run on a set schedule, or they can easily be initiated from the onscreen menu. Once started, the inputs are ignored, and the built-in calibration engine feeds various color patches to the screen. The colorimeter sensor pops up from behind a panel at the bottom of the screen, to evaluate the on-screen image. The mechanism operating that sensor is more complicated than the rotating dropdown in the Dreamcolor I tested in the past, but the result is a slicker bezel, this less noticeable evidence of the sensor when it is not in use. The calibration process takes a while, about 10 minutes for each color-space that the user selects to calibrate.
Using as an HDR Reference Display
The image quality and brightness of the screen is great, and not too far behind the much more expensive Canon reference monitor that I have been testing recently. But there are quite a few differences between the two products. The Dell is designed as a computer monitor, and as such, supports DisplayPort and Thunderbolt inputs, instead of SDI. Both can accept the HDMI output from my GPU or Kona5 card, but I have really grown to appreciate the signal analysis tools on the Canon display. I believe similar functionality could be achieved when using this Dell display as a full screen HDR video monitor, by passing the HDMI signal through a small video monitor before looping to the display itself, or an SDI feed to one separately from the Kona card would definitely work. Small monitors designed to be connected to cameras on-set frequently have waveform and other analysis tools that could provide similar function, but I have not had a chance to try this idea yet.
The difference in peak brightness is noticeable with the right content, specifically targeted at 2000nits, but most HDR content is currently being targeted at 1000nit displays, as few end users will be able to view anything brighter than that for quite a while. So this unit should surpass the needs of most artists working in HDR, especially those in the broadcast space, where HLG content and UHD resolution are the most popular way to work. The Dell unit also takes about 10 seconds when waking up, or changing resolutions, to re-sync, which seems longer than most monitors. And the built-in colorimeter of course should allow it to reliably maintain its accuracy for color critical tasks.
 Usage
Usage
This unit comes with a nice folding glare hood, which when used, really makes it look professional. The hood is shaped to form to the bezel, and is held firmly in place by magnets. Without the hood, this unit pairs well with my similarly priced 8K Dell display, as they are the same size screen, both include fully adjustable stands, and have loosely similar bezels. The HDR unit is thicker at the bottom, due to the integrated colorimeter. When the 8K is set to UHD res, or 200% scaling at 8K, its 140PPI matches this HDR display seamlessly. While I have grown to like my 8K display more and more over the last three years, as more software continues to provide better support for it’s high DPI screen, it is not for everyone. The color accuracy and dynamic range offered by the UP3221Q will probably be a greater benefit to a majority of high end content creators, but I still find my UP3218K to be the optimal UI monitor for my specific needs. But that is also because I my Adobe applications currently only support HDR on the dedicated hardware outputs. Once those applications are HDR aware within the OS, artists will be able to operate in HDR directly within their application panels, which will greatly increase the potential value of an HDR display like this as a UI monitor.
This is a well designed, top of the line monitor targeting users for whom color accuracy is critical, and high dynamic range is a necessity. Some video creators would be better served by an HDR TV, but if your space doesn’t allow for that, or you need HDR in your UI, this is a top choice. In my opinion, VFX artists who are compositing HDR content should be viewing their work in HDR as they are operating. Other users in the print and design space my never fully utilize the HDR functionality, and just want the accurate color reproduction capabilities, and the functionality to compare their images in multiple color-spaces at once. My recommendation would be, make sure you need this before you buy it, but for those who do need it, I don’t think you will be disappointed by its performance.