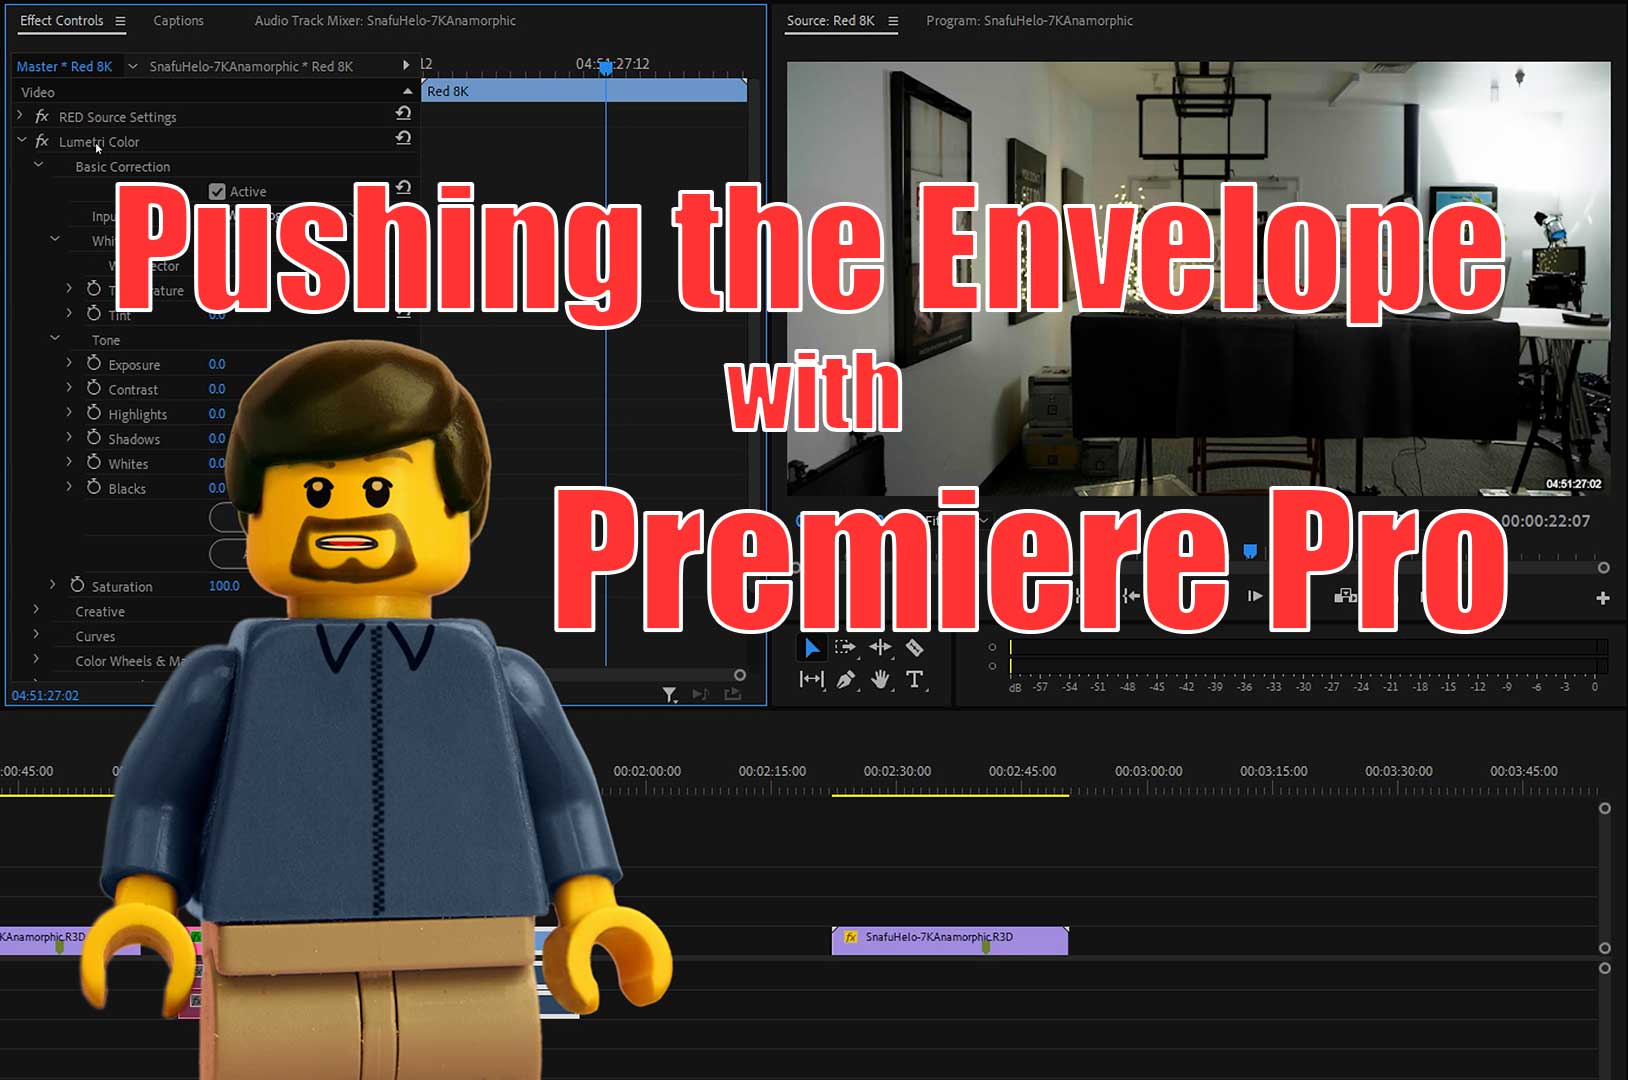
I have been working on a series of advanced tutorial videos I call “Pushing the Envelope with Premiere Pro.” Originally conceived as an Adobe MAX session topic, I have instead posted them on YouTube, free to anyone who wants to view them. They assume you are familiar with the application, and explore some of the more advanced and creative ways that you can utilize the unique functionality available within Premiere.
In this first episode of Pushing the Envelope with Premiere Pro, we explore:
-How to prepare to use Premiere on large scale collaborative productions.
-Storage is the most significant decision on large projects. While hard disks are usually the best option for large data sets, like video footage, having an SSD for project files, temp files and exports can be very helpful for more efficient workflows.
-If I’m working on a large single project, like a feature film, I usually share the media cache and database as well. To be safer, you can have each system manage its own media cache, but each system will have to generate and store these files every time new media is imported into the project.
-Projects clearly need to be saved on a shared drive, ideally an SSD. Now these can be productions composed of many project files, which really helps with loading and saving times. But this is the directory that should be backed up on a regular basis. Your Project AutoSave folder should be set to a different drive than your project is normally saved on
-I duplicate and increment my sequences every time I make an export, with the archive sequence matching the versioning of the exported file in case you ever need to return to that state in the future. With large sequences like two hour films, it is now easier to duplicate the entire project file for best performance with only one copy of the master sequence in any given project version. For smaller sequences, this is unnecessary and it’s easier to compare between versions if they’re in the same project. I usually version by number and then letter.
-The rest of the assets are all in one large RAID folder in a self-explanatory way. This should give you a good starting point for how to organize your files and name your projects and sequences.
In the second episode we examine:
-A number of things I customize within the application preferences, like the media cache settings and project locking options.
-How to keep our work and our application settings in sync with other editors. These settings are saved in the user document folder and that file can be shared to other systems to keep your settings consistent. On PC it is located in: Document/Adobe Premiere Pro/[your version]/[your profile name]/Adobe Premiere Pro.Prefs. This file when copied to other systems will keep all of your preferences consistent. The one thing that needs to be changed when sharing that way is the User Name for project locking.
-Project locking is entirely based on that User Name value and won’t work properly if two systems have the same User Name. So it is important to change that name immediately when sharing preferences to another system.
-I always enable project locking even when working by myself just to prevent any issues from forgetting that it is not activated. When project locking is enabled, Premiere places a tiny lock file next to every project that you have open in the application. This has the same name as the project file, locking it but with a .prlock extension.
-That locking functionality can also be taken advantage of to create lock files for systems that don’t exist, to effectively make certain projects read-only to all users. To do this, set a temporary username like Read Only or No Changes. Open a project and copy the resulting lock file elsewhere. Set the username back and now wherever you copy and rename that lock file, it will render the matching project file read only. Manually removing the lock file allows the project to be edited as usual.
-Using these techniques will help large productions being worked on by multiple editors flow much more smoothly.
This time we are discussing proxy workflows:
-Proxy files have been an important way to improve editing performance on high end media projects for many years. Premiere Pro has its own proxy functionality that allows you to seamlessly switch between proxies and full quality source footage for rendering and playback.
-Premiere Pro’s proxy functionality has some very specific behaviors that affect the recommended approach to proxy creation. The proxy is stretched to fit the source clip regardless of aspect ratio, so letterboxing doesn’t work correctly, and changing the color space causes issues with effects when toggling proxies.
-I recommend keeping your proxies in the same color space as your source footage and applying color conversions as effects in Premiere. And you definitely want stretched-to-fill selected for any encoding presets you plan to use for proxies, to prevent letter-boxing or pillar-boxing from being added to your proxy files.
-If you’re going to burn in metadata, it has to be in the frame since there will be no letterboxing. This should be less necessary since tracking back to the original should be handled by the application. But it may be beneficial to have the burn in as an indicator to identify when proxies are enabled. These can be set in the encoding settings for your ingest preset.
-Once you have the settings configured, creating proxies can be as easy as right clicking on your asset and selecting Proxy->Create Proxies.
-Proxy format is another important choice. Low bit rate DNx has been my recommendation for over a decade, but recent developments may be shifting that. ProRes proxy is now an option, and with recent hardware acceleration support, H.264 or HEVC may be viable alternatives as well.
-You can select the format and preset or Add Ingest Preset to select the file you’ve exported from Adobe Media Encoder.
-To create ingest presets in Media Encoder, select Preset->Create ingest preset. You set the presets name and then instead of copying the files, you want to tell it to “Transcode files to Destination” and select an Encoding Preset to use. You right click the Preset to export it to a file and then you can add that ingest preset into Premiere Pro’s proxy generation tool.
-When we create that proxy, it queues the transcode in Media Encoder and then attaches the resulting file as a proxy to the source clip in Premiere.
-You can even tell Premiere to make proxies automatically whenever you import media, in the project ingest settings.
-You can also start by importing correctly created proxies, and then attach the full resolution media later for the same final effect. In that case, it is important to make sure you set Default Media Scaling to: “Scale to frame size,” if you plan to do any framing work with low res proxies.
-Once you have the proxy files attached to the master clips, you can easily swap between proxies and source footage by adding the toggle proxies button to your program monitor. When the button is white, you are viewing the originals. When you’ve enabled proxies, it turns blue and you can see that we’re now using the proxy file.
-Now you can work quickly with your proxies and render from full quality outputs when you’re ready to export.
-You have the option of exporting from proxies if desired, to save rendered time when full quality isn’t needed. And if you bring your proxies on a laptop to edit on the road without the full res files, Premiere automatically pulls from the best assets you can find when exporting.
For our fourth installment, we are going to look at how to lay out a sequence in preparation for editing:
-The first step is the sequence settings. The frame rate should match the rate you shot at, unless you shot at twice the delivery rate like 60p for 30p delivery. If you’re going to have 60p outputs as well, then you should edit at 60p.
-Resolution can be a bit more complicated. Normally you want to edit at the resolution of your highest quality deliverable, but if you have different deliverables with aspect ratios that vary significantly, you will probably be best served by editing in sequences at the same resolution as your source footage.
-The other main decision is master audio track type. If you’re mixing surround audio in Premiere, obviously you want to choose 5.1. If you’re outputting multiple channels to a board, you will want multichannel and most other cases will do best set to stereo.
-You can name your tracks, which I recommend usually starting with Dialog 1, 2, etc. and then FX 1, 2, etc. I followed by Music 1, 2, etc. Video tracks are much simpler because they’re all the same, but labeling them is helpful as well.
-By default, the track name is not visible at the smallest settings, but that can be customized. Dragging the V1 item next to the eyeball. we find that no matter how small we make our tracks, the title is still visible. The same can be done for audio A1 being the thing that needs to be left on the first line.
-You’ll notice that the mono tracks have a single speaker icon here and the standard tracks do not. For most consistent results, you want to keep your mono audio files on a mono track and your stereo files on a standard track.
-On the visual side, there’s a lot of temp comps, so I have my backgrounds behind the green screens on the lowest layer, my main footage that I’m copying my characters from in this main layer Video 3 is just extra layers on top of that, followed by my Temp VFX. Then I have a pre-render layer for better playback performance
-If we were to use Premiere’s built in render engine, it would render the entire thing, including the titles. And every time we decided to try and change the title, it would want to re-render the effect underneath.
-I have to cut the pre render layer and roll it back and now we will see the layer underneath as well as the layer above that. As I keep making changes to other shots, I’ll continue cutting away pieces of this green pre-render. And once this pre-render is totally chewed full of holes, I will export and make a new one.
-To make a new render layer, we would just turn off the titles, we would set out in and out as needed, and export that file. Once done, I bring it back in and lay it in over top of the previous render layer.
In this fifth video we look at ways of creating deliverables with different aspect ratios:
-Frequently, you will be required to deliver a project in multiple aspect ratios. This used to mean creating both 4×3 and 16×9 versions, and now, more frequently, a film might need 16×9 and 2.35 scope variance, while online pieces might need square and 9×16 variants.
-There are two ways to reach this end goal. One is to start with the output of the master deliverable and crop down from there. This is where the term pan-and-scan came from, for trying to pan between two objects in a wide frame to make a 4×3 version. If you have the option of revealing more of the image instead of removing portions of the finished image to hit your target aspect ratio, this leads to a much better final product, but requires more preparation and planning earlier in the workflow.
-You are of course limited to the image size that your camera originally shot, but deliberately shooting wider imagery with a higher resolution camera gives you much more flexibility with aspect ratios and framing in post.
-If varying aspect ratios is a big part of your project, the best way to accommodate this is to edit at the source camera resolution and aspect ratio in your master timeline and not do any permanent framing work there.
-You can use a matte to simulate your primary aspect ratio, leaving it as the top layer in your editing timeline. The easiest way to make a custom mat is to create a new document in Photoshop at your target resolution. Double click to convert the background into a layer, then Ctrl+Alt+C to change the canvas resolution to your footage and sequence resolution. This should give you a transparent area that you can paint bucket to black select and delete the original area in the center. And now you have a matte that you can place over your source footage to see what it will look like in your output resolution.
-If this opening is too small to be practical, you can simulate just the aspect ratio and not the resolution. To do this, divide the source width by the aspect ratio like 2.35 and use the result of that for your initial layer height, following the same steps after that.
-So we import that in Premiere. Select individual layers. Now we can drag that into our sequence. We see those black bars that we just added. Once your edit is finished and locked, you then use that sequence as source for new sequences at every aspect ratio you need to deliver.
-You then frame each shot at every aspect ratio that you need. One way to do this manually is to place the cuts in the subsequence based on a temp copy of the source clips. Down arrow plus Ctrl+K repeatedly will give you all the cuts that you need. You then delete those temp clips.
-Another way is to run the new scene edit detection function on the subsequence clip.
-Regardless of how you do it, the result should be a source sequence with all the pixels that you originally shot available, and then that sequence used as source for sequences of clips framed in your target aspect ratios.
-This allows you to make revisions to the VFX or color in the master source sequence, and the changes should propagate to all the other versions.
This time we’ll see what some of these approaches to aspect ratio look like when they’re applied to a real project.
-On the movie 6 Below, we shot with the Red Dragon at 6K for eventual delivery to a number of different aspects, ratios and formats.
-After we’d locked the edit, we graded every frame we used in its original 6K resolution, allowing us to reframe the entire movie for a number of different aspect ratios after it had been graded.
-Our theatrical release was actually slightly wider than 235. We were also required to deliver a full 16×9 version, which was a whole separate aspect ratio to frame for. And the most unique requirement was our BARCO escape format.
-BARCO Escape was three Scope 2k images side by side, giving it a 7:1 aspect ratio and a final resolution of 6144 by 858.
-Many times this does not give us the height to do what we wanted to do, so our solution to that was to scale down the image and then stretch the sides separately to fill in the gaps. The reason we can get away with stretching the image this way is due to how the screens are arranged from the audience’s perspective. -We can take a closer look at how this works by recreating it in 3D in After Effects. We start with our full 6K source asset. The first thing we’re going to do is apply our mattes and our framing guide. Now this tells us that the bottom is going to be out of the image.
-We can’t just tilt down or we’ll lose our other character in the background. Also, he is sitting right at a screen boundary, so I’ll be right there in the seam, which is less than ideal. So the way that we deal with that is that we scale the image down to allow us to get more of his face and keep him away from the seam.
-But now we have these black areas right here that we need to cover with imagery. So the way we deal with that is we mask the left edge and we stretch that to cover and we mask the right edge and we stretch that to cover. But that leaves us with highly distorted edges on our project that should be visually obvious, except that when the audience is viewing this in the theater, the screens are tilted steeply towards them.
-This has the effect of compressing the image from their perspective, which offsets the stretching that we did, leaving it a fairly normal feel.
-Even after this is done, we have the opportunity to tilt the camera up or down by changing the anchor point to get the exact framing that we need to keep everything in the picture at once.
-That was admittedly quite complicated, but we can create that result in Premiere using nothing besides the crop and motion effects. In the timeline, we accomplish this in three layers with the center, the left and the right screens, each having separate crop and motion settings applied. And these are presets that we can apply at different settings like 75%, 90%, etc.
-Another way to do this would be to use a single layer with a number of transforms applied, and these could always set as a single preset as well for once again, 90%, 75%, things like that. For different sizes that you want to scale out to, you need to stretch the sides slightly differently for each of those options.
-This particular sequence is actually taller than the final delivery that gave me the ability to have a soft matte to allow me to see what we may or may not be missing from other parts of the image.
-Later it gets dropped into another sequence that actually trims off the parts that we aren’t using. Also, it can be useful to have the screen boundaries marked so we make sure we didn’t land anything important right at the seam between the two screens.
-Now you probably won’t be creating a 7:1 project anytime soon, but this example just illustrates how powerful some of Premiere Pro’s basic effects tools are when used in creative ways.
I am working on ideas for a few more episodes, but wanted to share what I had already completed, to see if this is the type of thing that people are looking for. If there are further topics you would like to see explored in this way, don’t hesitate to comment here or on YouTube, and I will see what I can do.